Do you want to fill an object in the drawing by a pattern or solid? AutoCAD software follow you do this with Hatch command. In this part, I will give a hatch command tutorial in AutoCAD for everyone.
You can fill an object or objects at the same time. If you would like to fill anything, it must have line boundaries closely.
How to use HATCH command?
Step 1: Start the command
You click Draw on toolbar and then choose HATCH
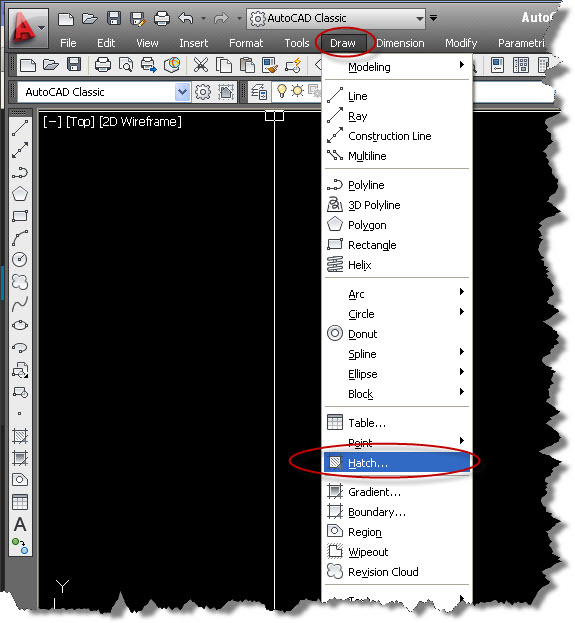
start hatch command
Or enter H at the command line, after that press Space, now software will show hatch and gradient dialog box.
Step 3: Select type and pattern
Type: you select predefined
Pattern: click button which display the hatch pattern palette in dialog box, in which you can view all images for predefined pattern > select any pattern > Ok.
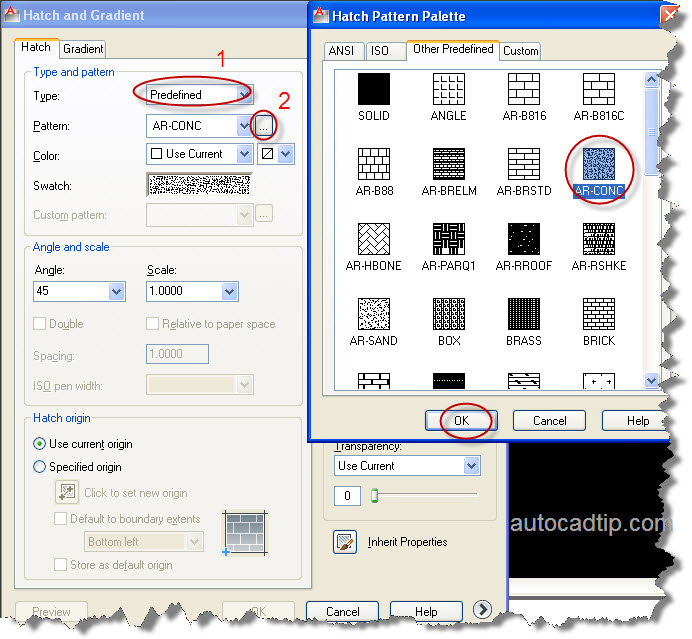
Select type and pattern
Step 3: Select region to fill
There have got two ways here. That is Pick point or select point.
Pick point used when region of boundary is made lines and you must click any point in boundary. Select point used when region of boundary is made polyline and you must select line boundary.
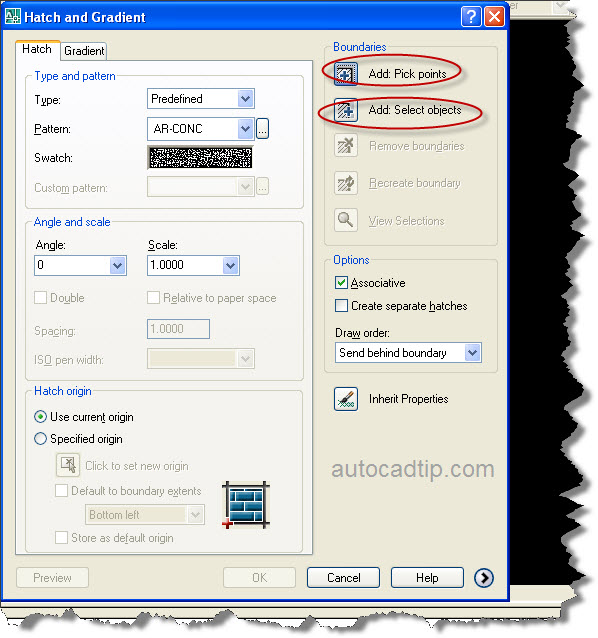
Select region
Step 3: Select angle and scale
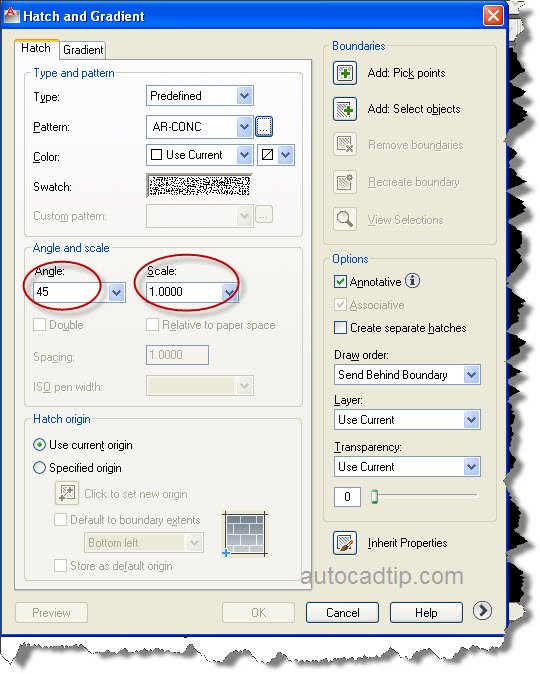
Select angle and scale
Step 4: Select option is annotative
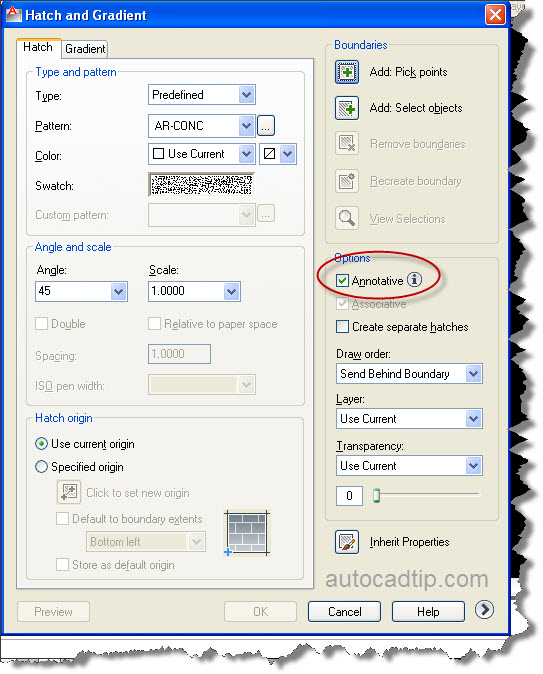
Select option
Step 5: You can lick on preview button and then select Ok
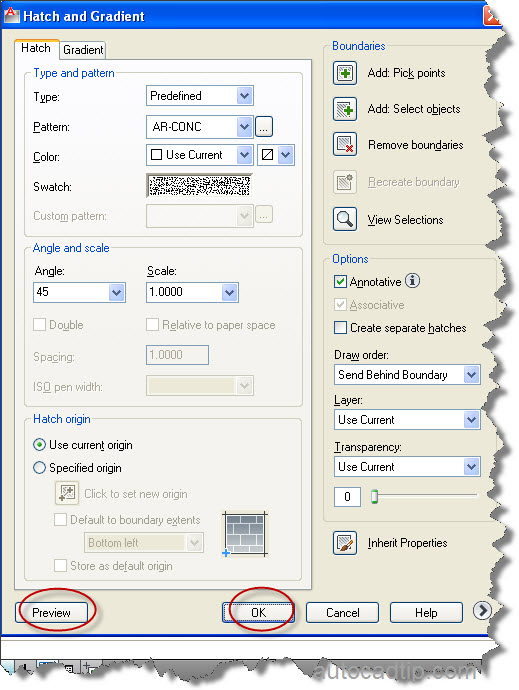
Select preview
[author] [author_image timthumb=’on’] https://autocadtip.com/wp-content/uploads/autocad-tutorial-author.jpg[/author_image] [author_info] Hello everyone!!!!![/author_info] [/author]