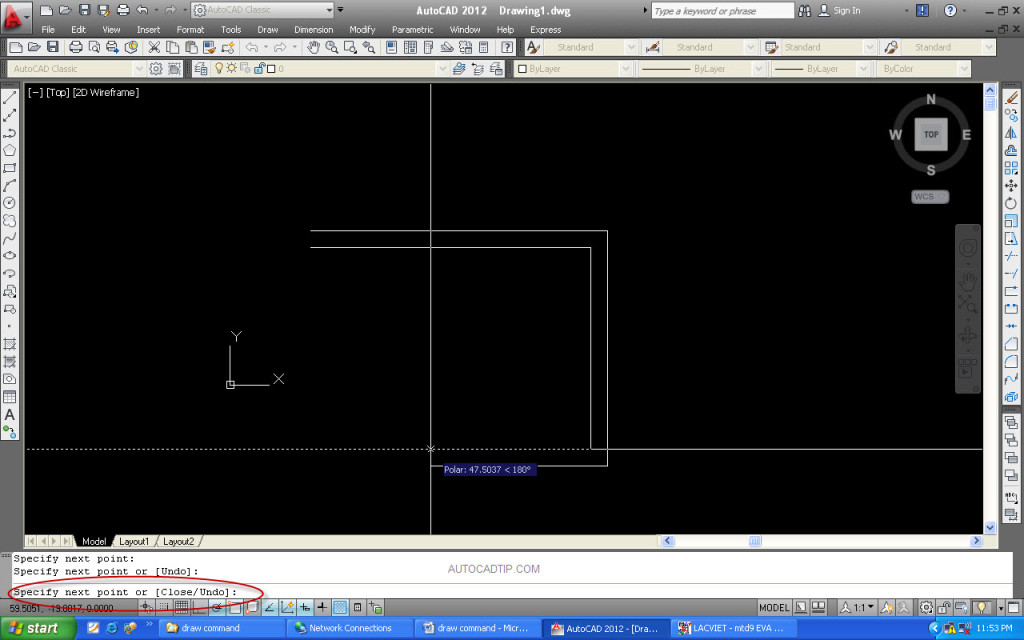
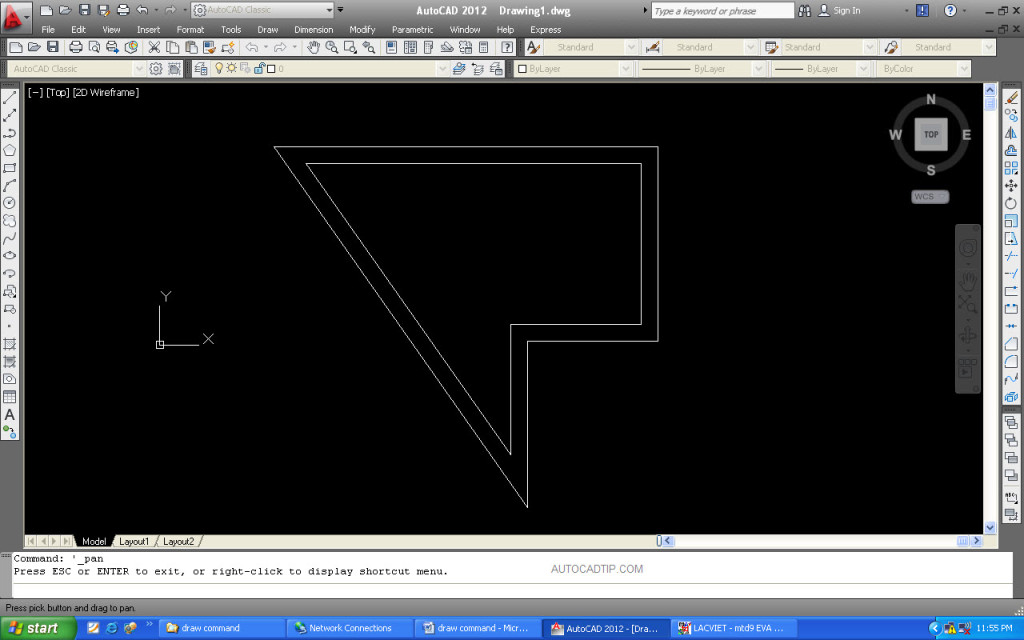
If you want to draw a object which is created lines parallel. You can use Line command to draw a line and then perform Offset or Copy command. AutoCAD follow to draw many lines the same time with Multiline command. This command can call Mline. Today I will help you to practice it with multiline command tutorial in AutoCAD.
How to practice Multiline command?
Step 1: Start the command
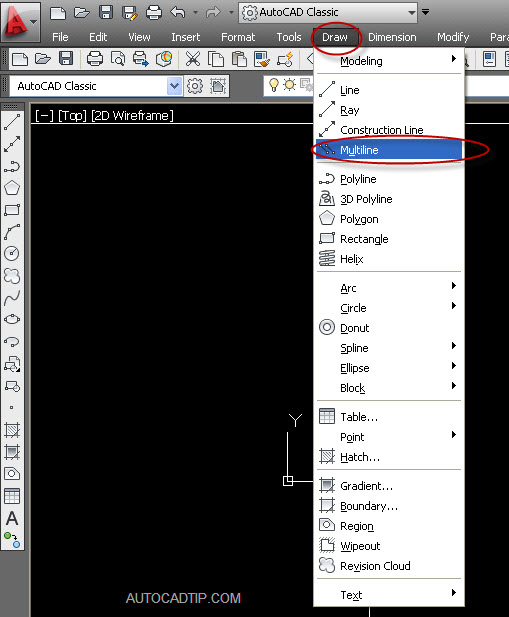
Select Draw on toolbar and then click on Multiline.
Or enter ML on command line > press Space
Step 2: Draw
Follow default in AutoCAD, Mline of style is STANDARD, scale is 1 and justification is top.
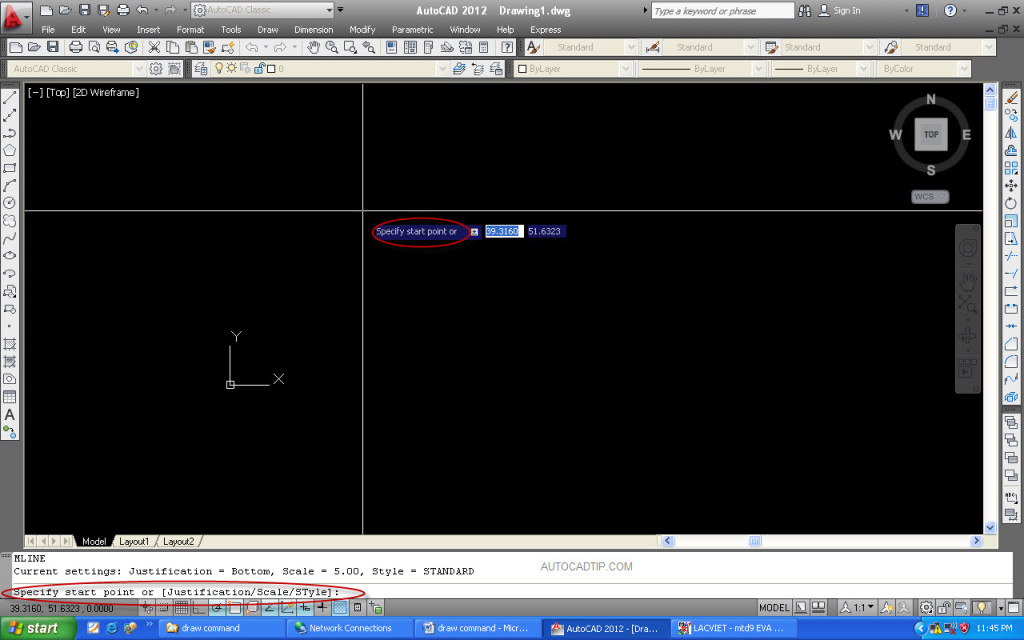
Specify start point or [Justification/Scale/STyle] : choose first point that Mline pass through.
There are three options. If you would like to change Mline of style, you must select Style option.
Specify start point or [Justification/Scale/STyle] : ST > press Space > enter style’s name > press Space.
If you want to change Mline’s size, you select Scale option
Specify start point or [Justification/Scale/STyle] : S > press Space > enter scale’s value > press Space.
If you want to change Mline’s justification, you select the Justification option.
Specify start point or [Justification/Scale/STyle] : J > press Space > choose justification type (top or bottom, zero).
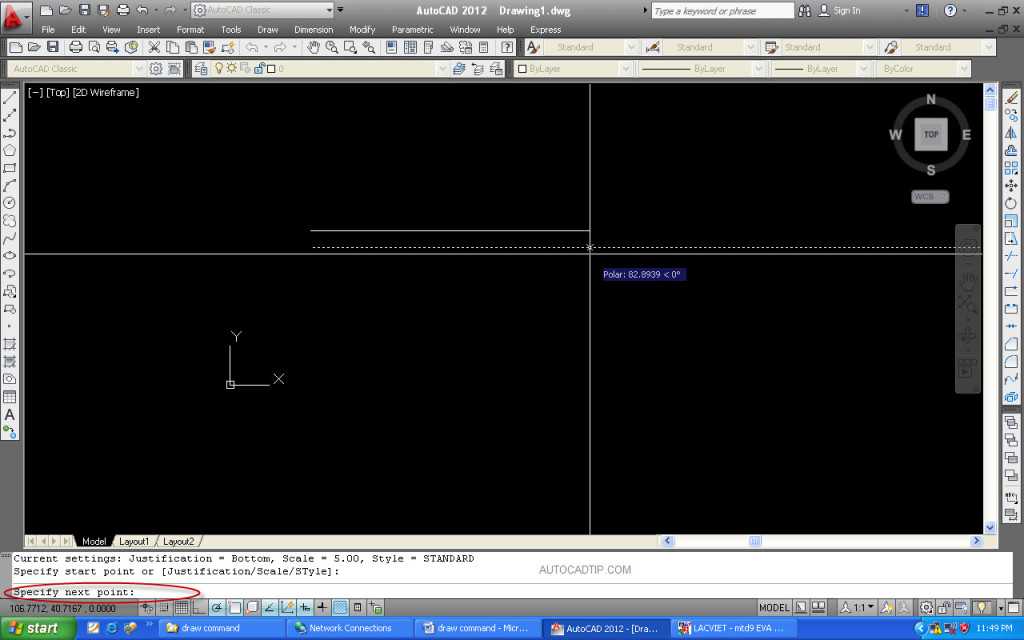
Specify next point: choose the second point that Mline pass through.
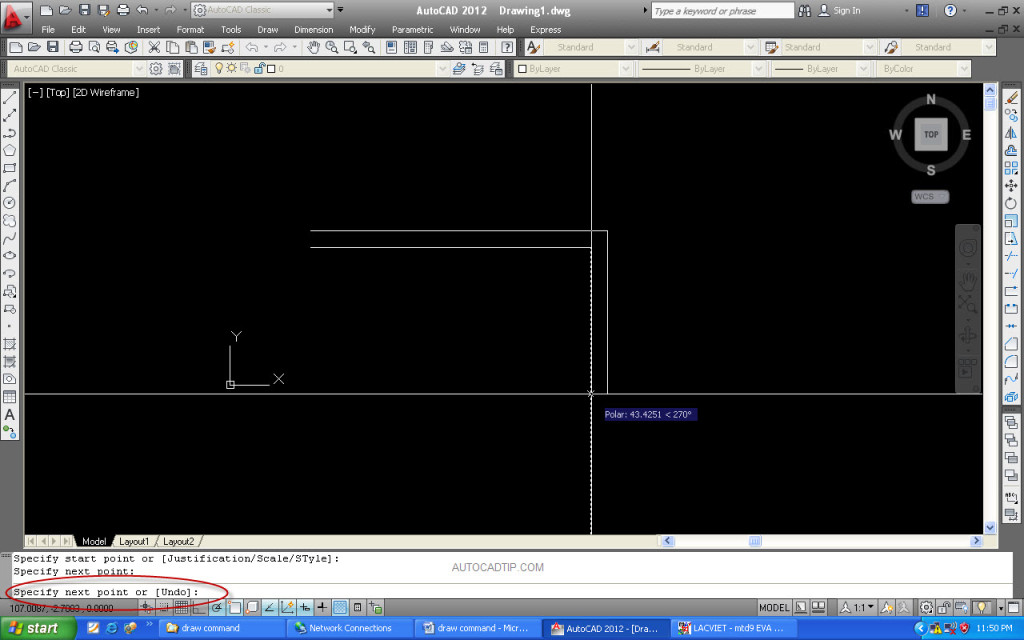
Specify next point or [Undo] : choose the third point that Mline pass through or U > press Space. With Undo option will back action.
Specify next point or [Close/Undo] : choose the fourth point that Mline pass through or C > press Space. With Close option will connect start point and end point together.
Specify next point or [Close/Undo] : press Space to end command.
