If you are engineer or project manager, you need to be fluent AutoCAD and Microsoft Office Project software. When you had finished the construction progress chart by MP, do you want export into DWG file to print? How to export it into AutoCAD?
Step 1: You open the required progress chart to export to CAD.
Step 2: Identification start date and finish date in construction progress. Click Project on toolbar and select Project information.
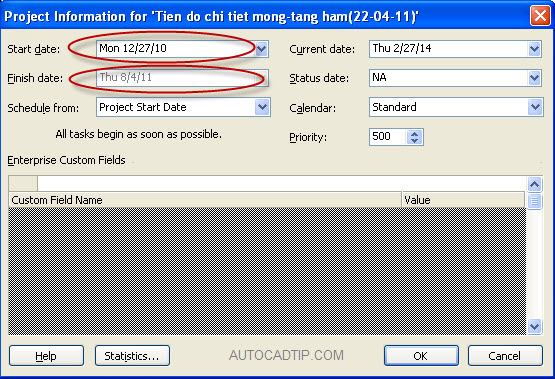
Identification start date and finish date
Step 3: Choose tasks in progress chart that you need to export to DWG.

Select the required tasks exported in MP
Step 4: in Microsoft Project, click Report on toolbar and then select Copy Picture > show Copy picture dialog box > setup some option such as start date, finish date, for screen and selected rows.
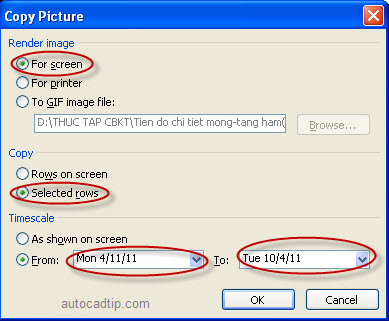
Copy picture
Step 5: Open CAD and then used shortcut command is Ctrl + V > show OLE text size dialog box > click Ok button and save this file.

OLE text size