The topic today: How to hide all Hatch patterns in AutoCAD?
To hide all hatch patterns in AutoCAD, follow these steps:
Method 1: Layer freeze option
1. Open the drawing containing hatch patterns in AutoCAD.
2. Turn on the Layer toolbar if it is not already visible. You can do this by right-clicking on the toolbars area and selecting “Layers” from the list that appears.
3. Identify the layers containing hatch patterns.
4. In the Layer toolbar, find the layer dropdown list with the names of layers.
5. To hide hatch patterns, click on the snowflake icon (or ‘Freeze Layer’) next to the eye symbol for the specific layer containing the hatch patterns.
6. The hatch patterns on the selected layer will now be hidden. Repeat this process for all desired layers containing hatch patterns.
Method 2: Quick Select feature
QSELECT command
1. Open the drawing containing hatch patterns in AutoCAD.
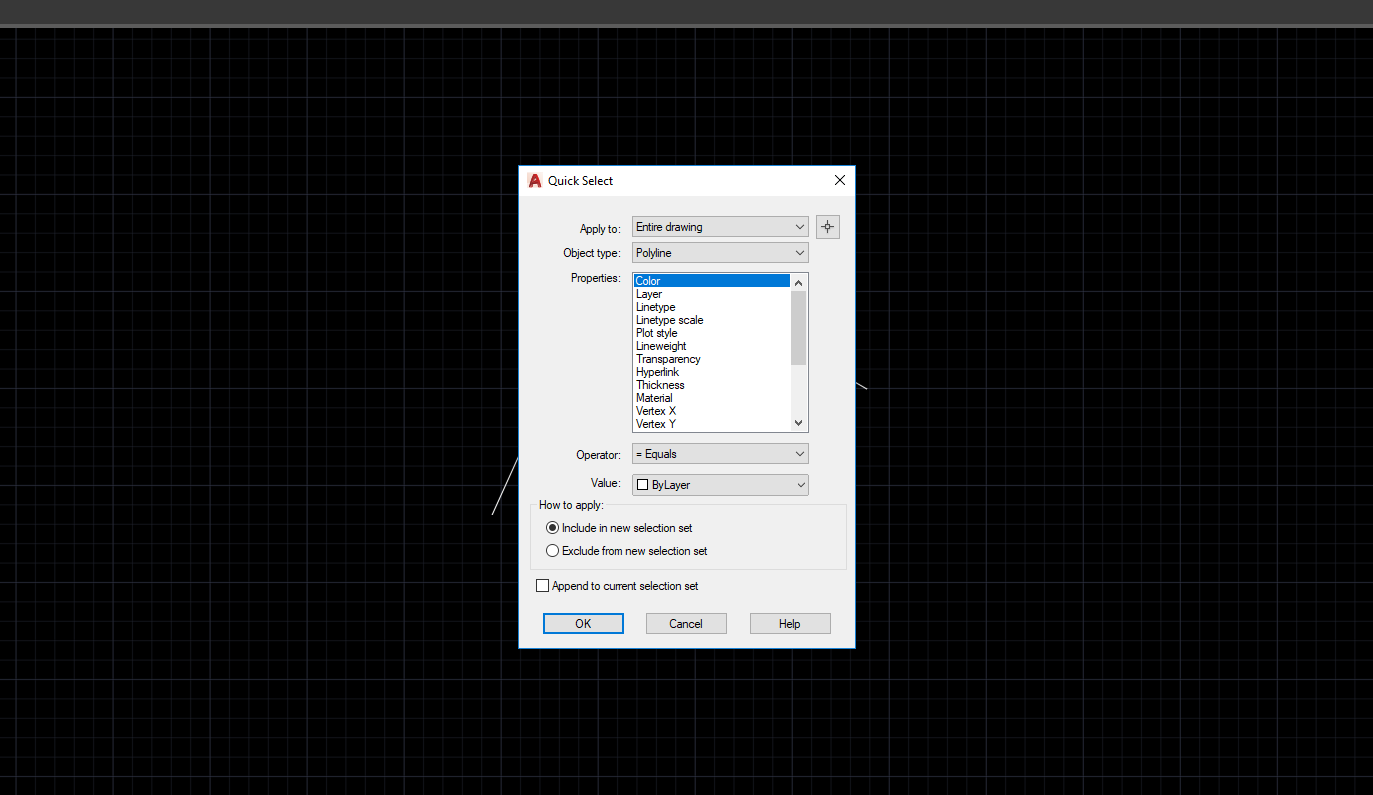
2. Type ‘QSELECT’ in the command line and press Enter. The ‘Quick Select’ dialog box will appear.
3. In the dialog box, set the ‘Object Type’ to ‘Hatch,’ and hit the ‘OK’ button.
4. The hatch patterns will now be selected. Next, press the ‘Delete’ key on your keyboard to remove all the hatch patterns.
5. Alternatively, you can also move them to a different layer and freeze that layer as mentioned in Method 1.
After completing these steps, all hatch patterns in your drawing will be hidden. To make the hatch patterns visible again, you just need to unfreeze the layers or create/import hatch patterns back to your drawing. Remember to save your changes if you need to keep the hatch patterns hidden for future work.
Thanks for visiting and reading this article!