Hi! Welcome back to AutoCAD Tutorial
Previously lesson, I guide to print drawing in AutoCAD. Today I will introduce to you a function print layout. This plot way is very important for users because it help us print quickly more and save time.
Drawing’s requirements when you choose plot layout:
- All drawing must showed in layout.
- Per layout present only one drawing.
- Frame drawing name must match the paper size in layout.
Steps to plot layout as following:
- Step 1: Choose layout anything > Hold on mouse here > click right of mouse > choose Page setup manager >
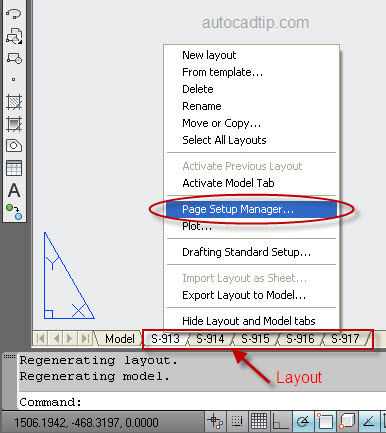
Choose Page setup manager
> show Page setup manager > click New button > type new name as A1 > click Ok button > show Page setup – A1 > you choose plot name, plot style table, paper size, plot offset, plot scale according with your requirement > click Ok button > Close.
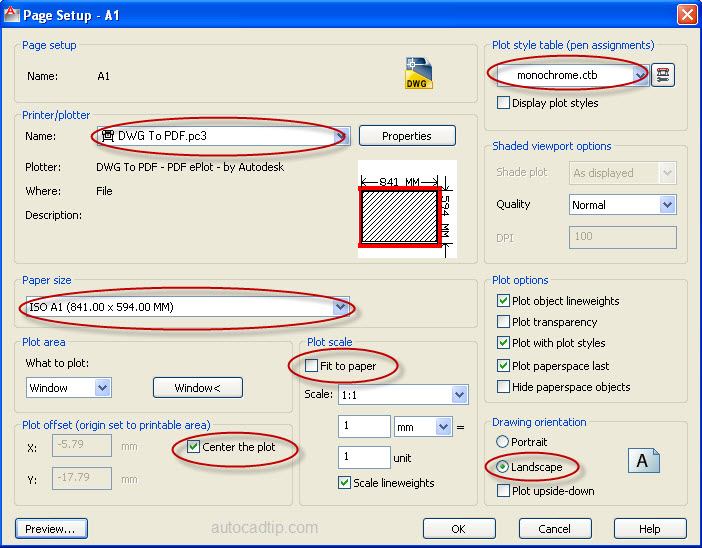
Page setup
- Step 2: click all layout need to plot > hold on mouse on layout status > click right of mouse > choose publish select layout > show Publish > sheet name column, you choose all layout > Page setup, you choose plotter name is A1 > click Publish button.
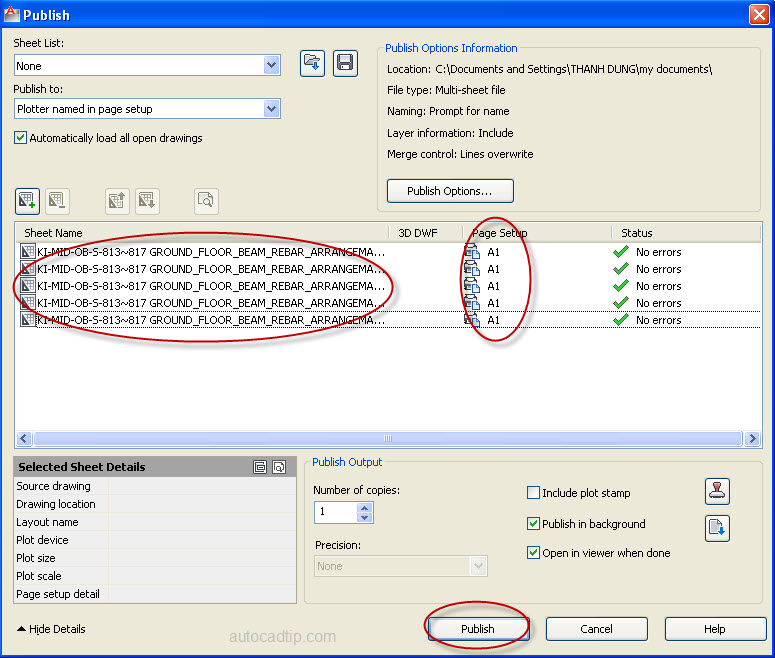
Setup Publish