Welcome to autocadtip.com AutoCAD tutorial
In this series, we are going to learn lesson about how to print in AutoCAD. Here, we will give a tutorial to you follow example specifically.
For example:
You need to print a drawing AutoCAD for customer or for myself with requirement as following:
Paper size: A1 (ISO 594x841mm)
Color: white and black
Layer: use object lineweight
Screening: 100%
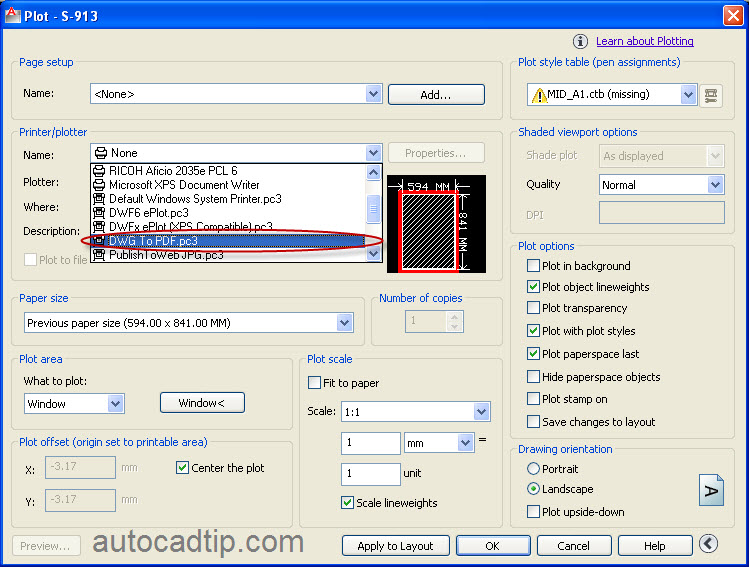
Printer: DWG to PDF
Step 1: Open your drawing that you need to print.
Step 2: Install already printer in AutoCAD software.
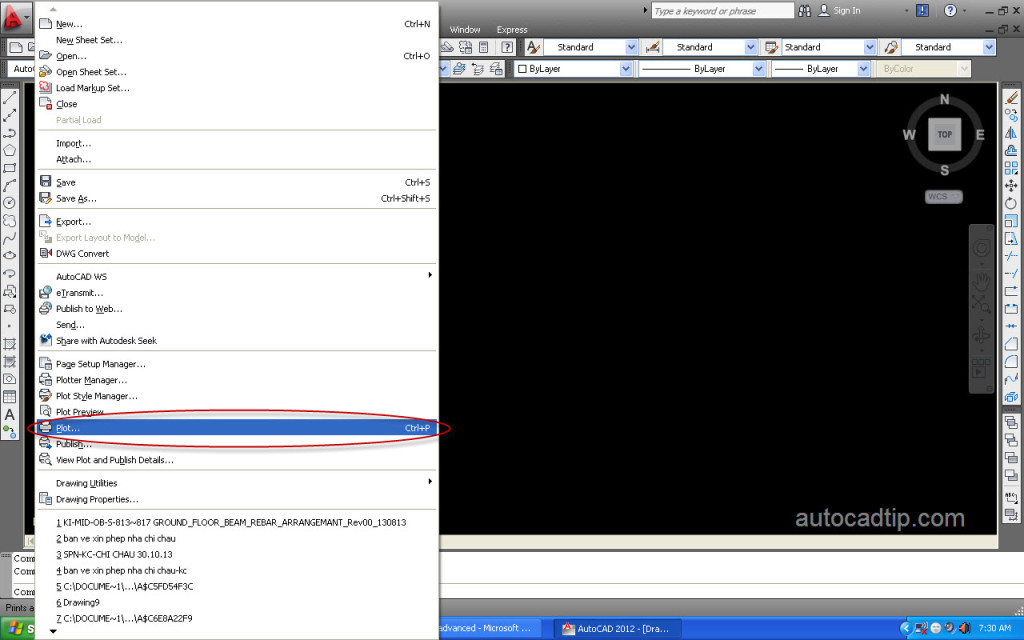
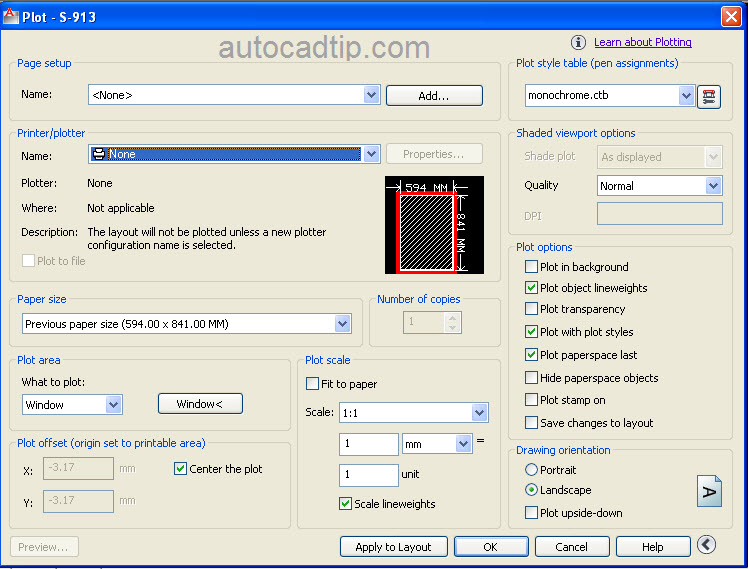
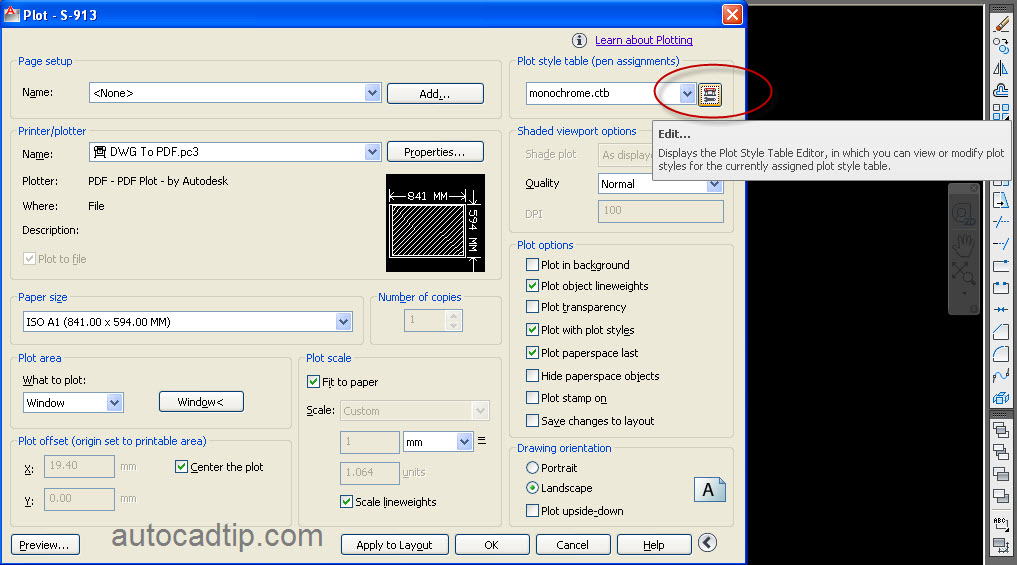
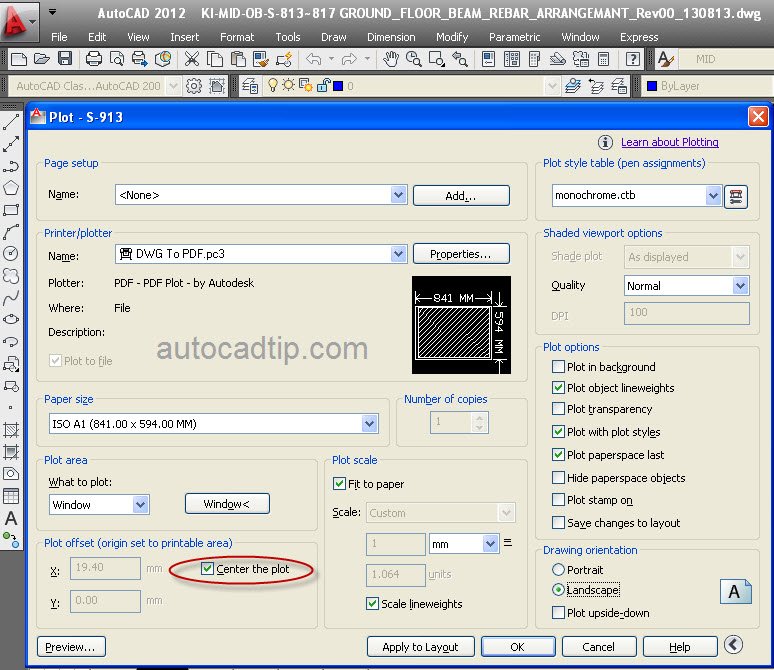
Step 3: Go to File > Plot or using shortcut is Ctrl + P > show Plot option box.
Step 4: Choose DWG to PDF printer.
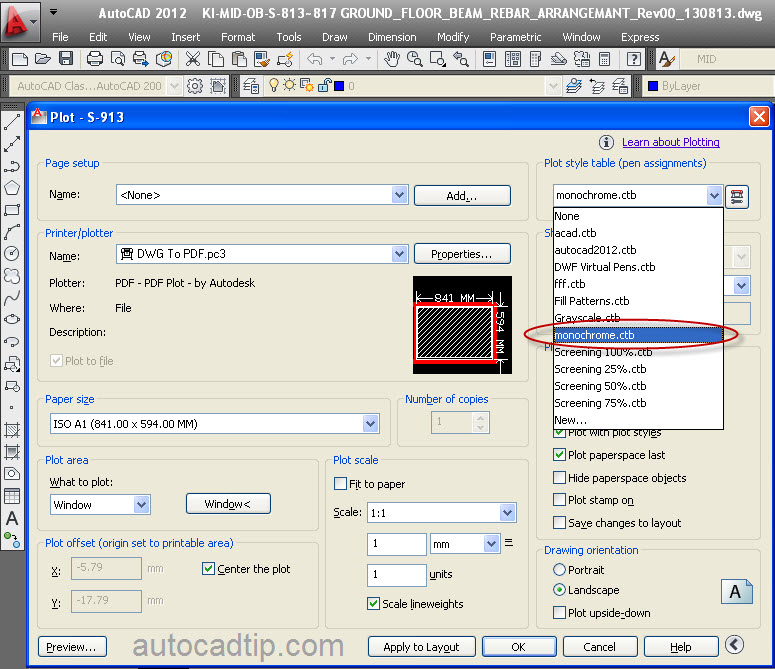
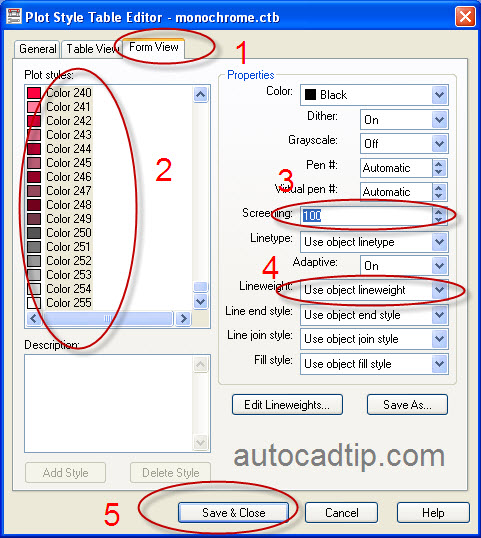
Step 5: Choose plot style is monochrome.ctb > click edit plot style > show Plot style editor option box > click Form view > choose all color > assign screening = 100 and lineweight = use object lineweight > click save & close button.
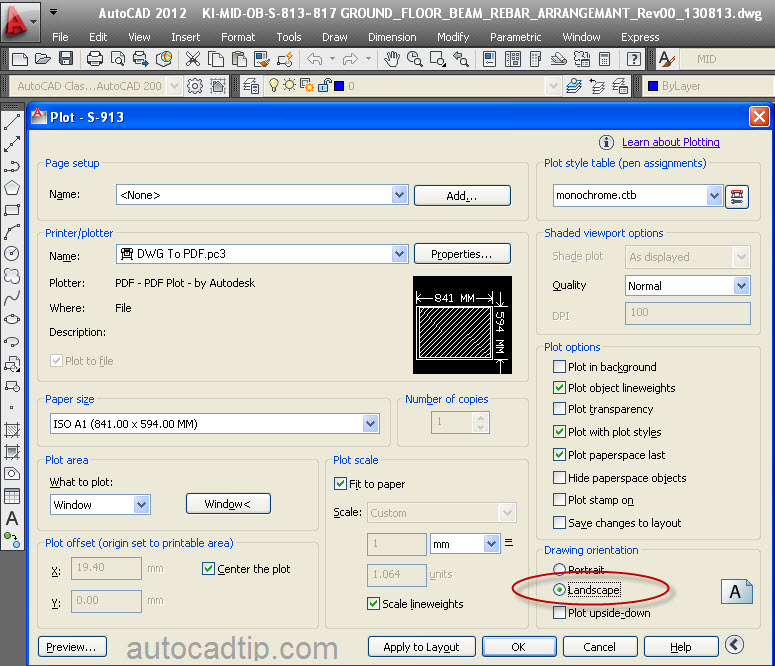
Step 6: Choose Drawing orientations is landscape.
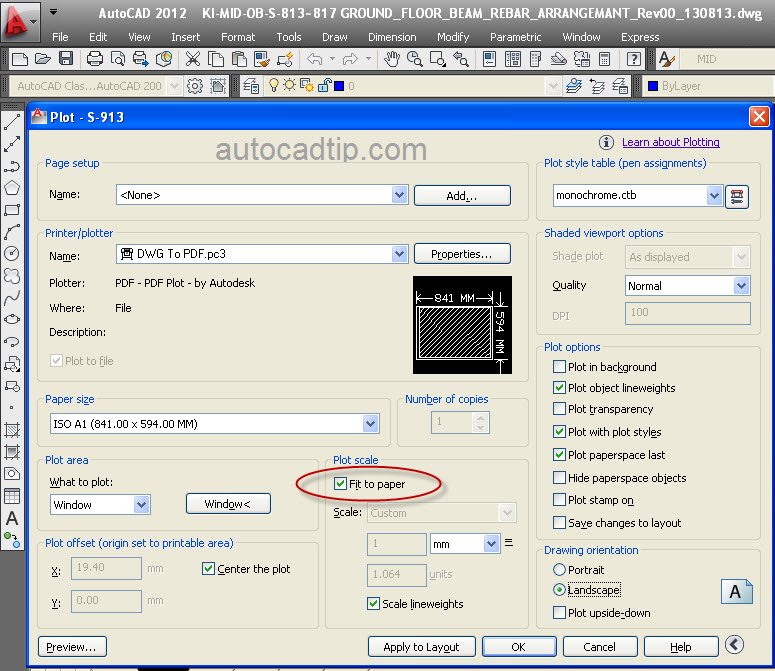
Step 7: Choose Plot scale is fit to paper.
Step 8: Choose Plot offset is center the plot.
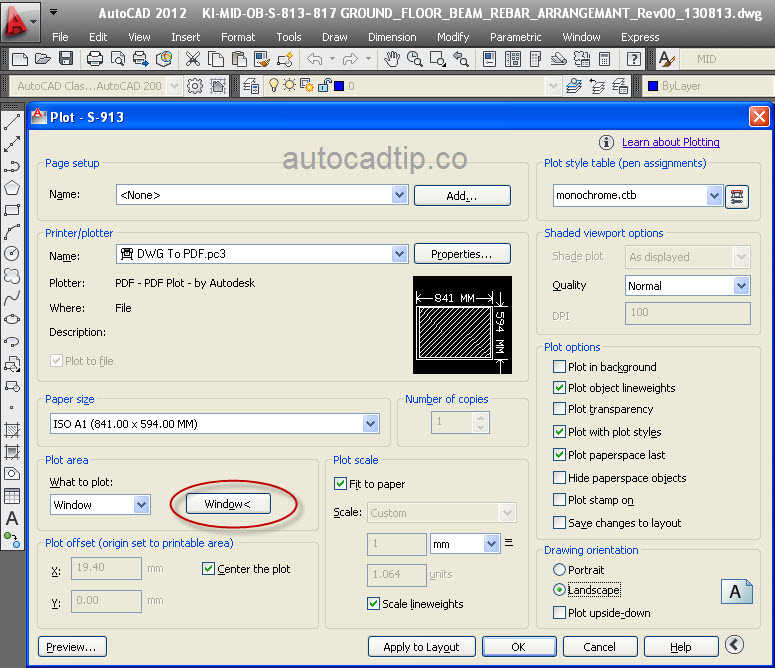
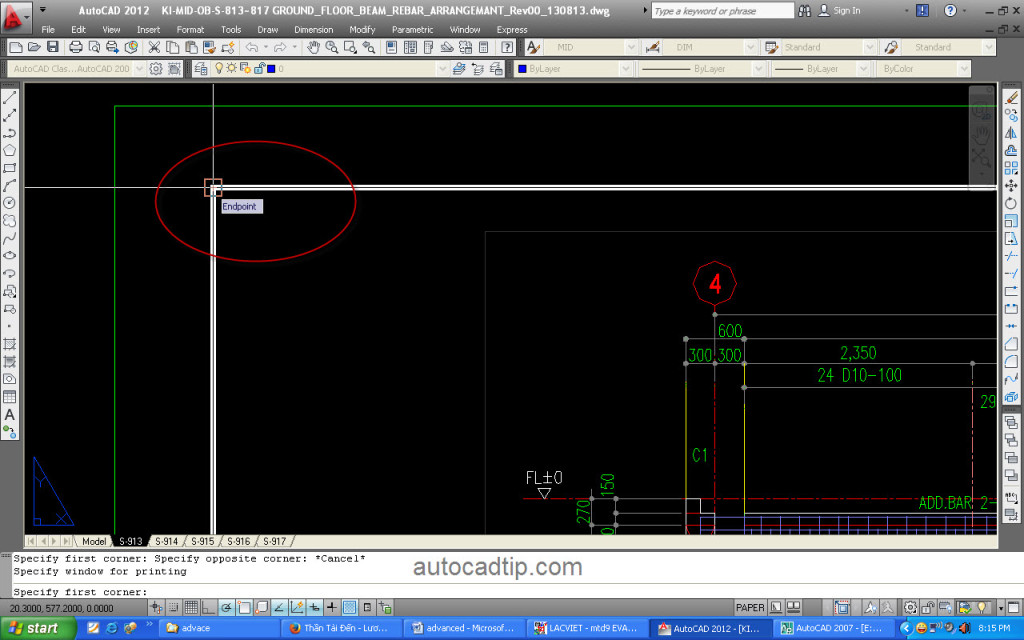
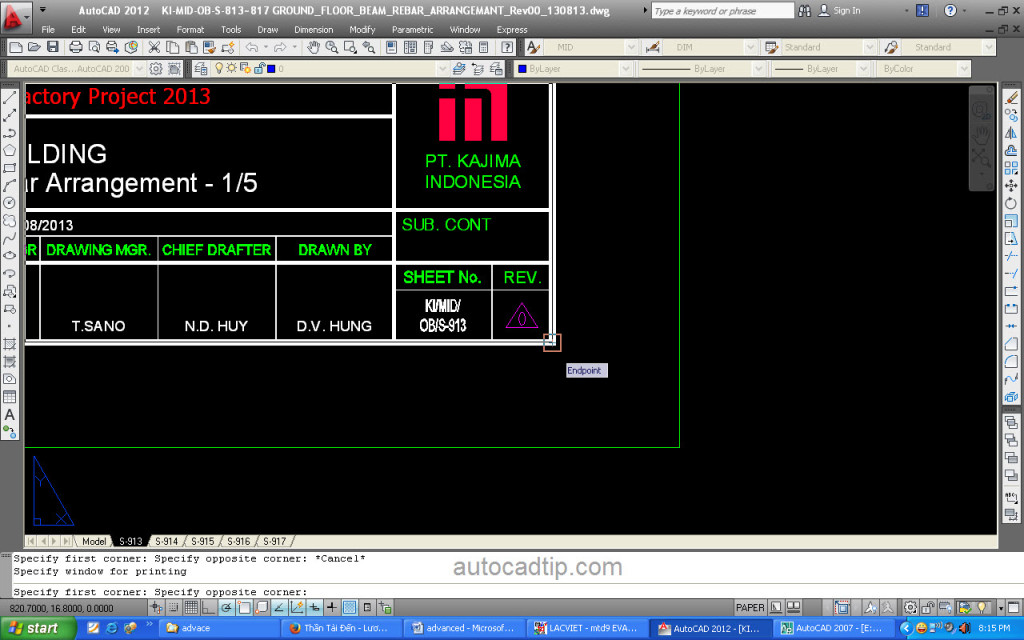
Step 9: Choose Plot area, click window > pick first corner > pick second corner > show plot option again.
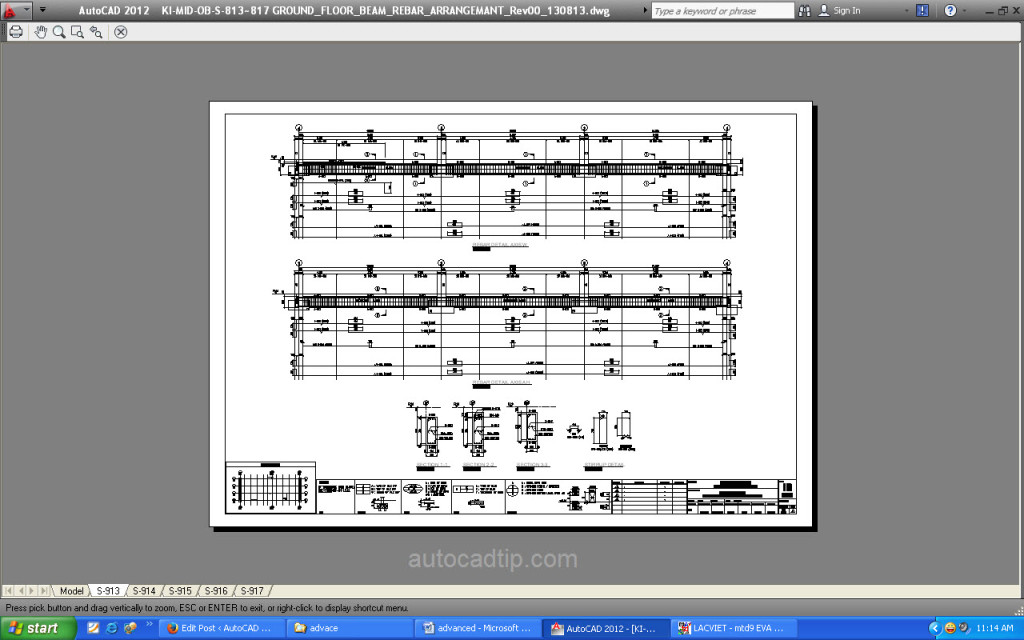
Step 10: Press Apply to layout > Preview button to see drawing before printing.
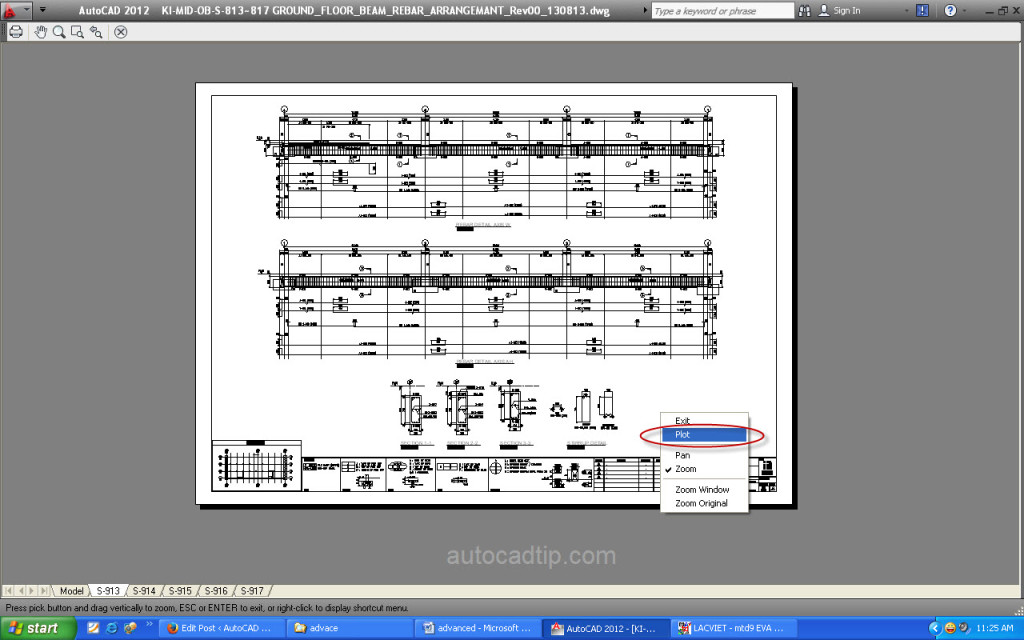
Step 11: Click right of mouse > choose Plot.
So we have finished step to print a drawing AutoCAD, good successful to you!
