Creating an arc of a specific length in AutoCAD involves three steps: creating the arc, measuring its length, and adjusting it accordingly. Here are the detailed steps:
How to Create an Arc with Specific Length in AutoCAD?
1. Start by creating the arc using the ARC command. You can do this by specifying three points in the AutoCAD environment, entering ‘ARC’ in the command line, and then clicking to set the start, center, and end points of the arc.
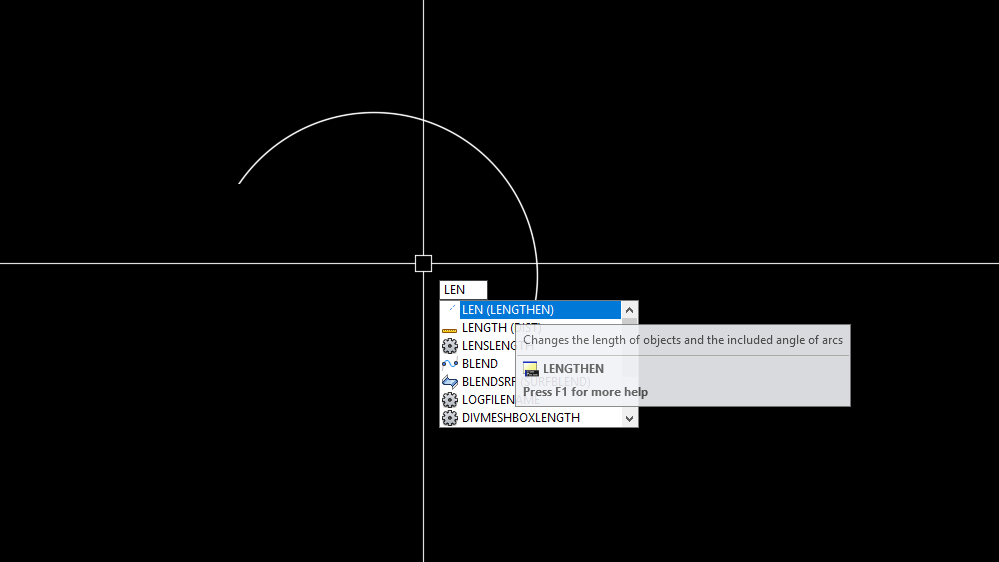
2. Measure the length of the arc. Unfortunately, AutoCAD does not have a direct command to accomplish this. However, you can use the ‘LENGTHEN’ command for this purpose. Type ‘LENGTHEN’ in the command line, then hit ‘Enter’. Choose the ‘Select Object’ option, and then select the arc you have created. The length of the arc should then be displayed in the command line.
3. Adjust the arc length. If the current length does not match the length you want, adjust the arc accordingly. Use the ‘LENGTHEN’ command again, but this time, use the ‘Total’ option, entering the amount you want to lengthen or shorten the arc (use a negative number to shorten it). Select the arc, then pick where you want the modified arc to end.
Please note, that the precision of this process depends in part on the drawing’s units and precision settings. And it may need several rounds of adjustment to get the length exactly right. Thanks for visiting this Blog!