The XLINE command or also call construction line is sameRAY command. It creates rays with no endpoints and always extends to the edges of the screen. Because there is no endpoint, the object snap feature formatted will only work with the midpoint setting which will snap to the first through point.
How to use XLINE command in AutoCAD?
Step 1: Start the command
Click Draw on toolbars > choose Construction line.
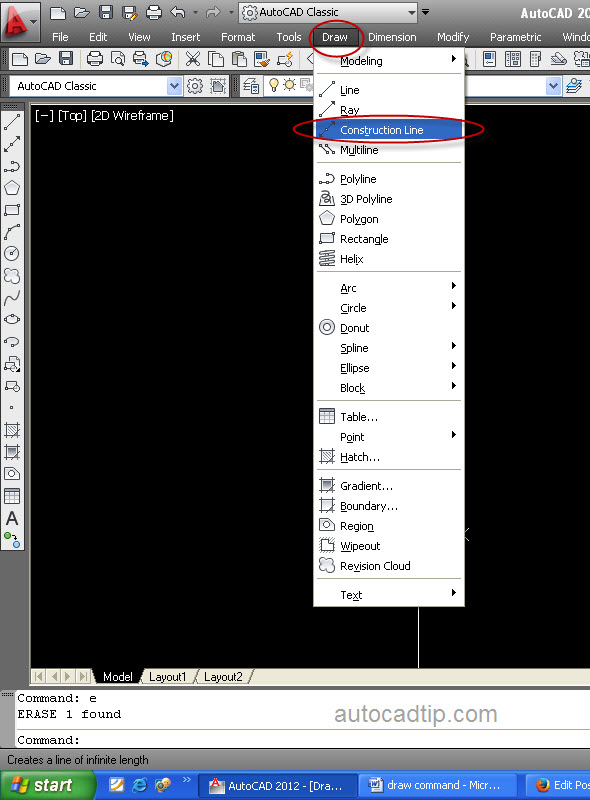
Start XLINE command – CONSTRUCTION LINE command
Or type XL on command line > press Space.
Step 2: Start draw lines
Select two points these lines will pass through. Keep on selecting second point will continue making construction lines. To the end these command right press Space or enter or click right of mouse.
Command: XL
XLINE Specify a point or [Hor/Ver/Ang/Bisect/Offet] : choose the first point.
Specify through point: choose the second point that xline pass.
Note:
When you start the command, AutoCAD follow you five options. Depend on your target, you can choose option so that meet. Select an option before choosing a point.
Command: XL
XLINE Specify a point or [Hor/Ver/Ang/Bisect/Offet] :
Hor
With this option will Insert a horizontal xline
XLINE Specify a point or [Hor/Ver/Ang/Bisect/Offset] : H
Specify through point: choose a point that xline will pass through.
Draw herizontal xline in AutoCAD
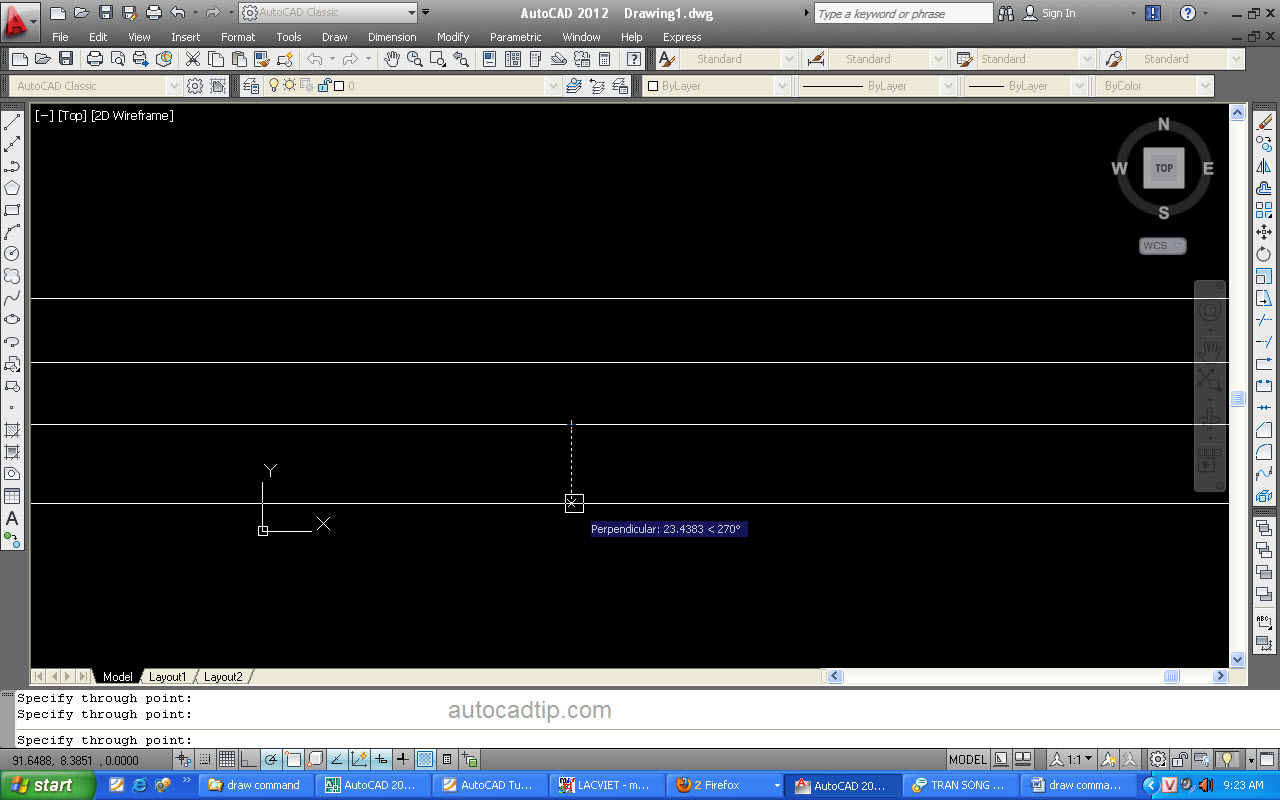
Ver
With this option will insert a vertical xline.
XLINE Specify a point or [Hor/Ver/Ang/Bisect/Offset] : V
Specify through point: choose a point that xline will pass through.
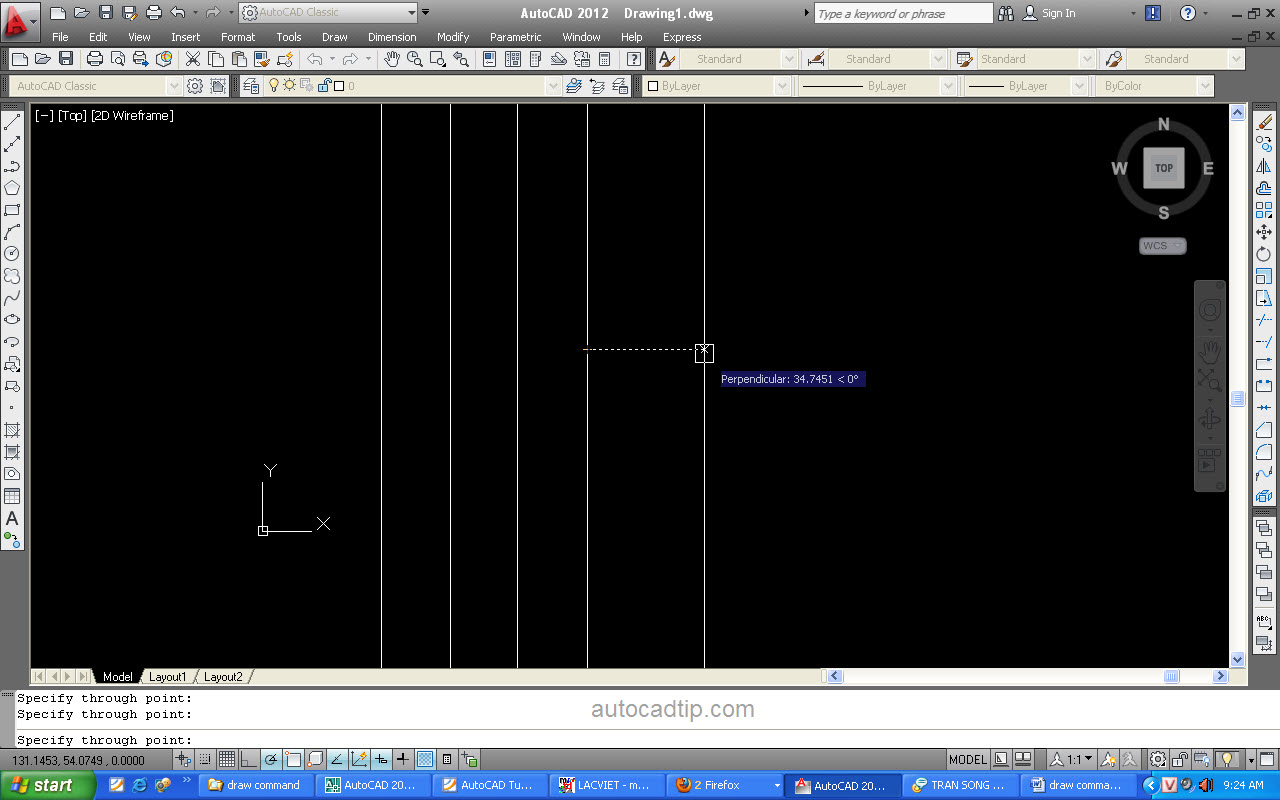
Draw vertical xline in AutoCAD
Ang
With this option will insert an xline at a specified angle or by using a reference angle in the drawing, and specifying two points.
XLINE Specify a point or [Hor/Ver/Ang/Bisect/Offset] : V
Enter angle of xline 0 or [Reference] : input angle value, for example: 45
Specify through point: choose a point that xline will pass through.

Draw xlines with a angle
Bisect
With this option insert an xline that bisects a specified angle. Select three points to specify the angle, the vertex, start point and the angles end point.
XLINE Specify a point or [Hor/Ver/Ang/Bisect/Offset] : B
Specify angle vertex point: input angle value
Specify angle vertex start point: choose a point
Specify angle vertex end point: choose a point
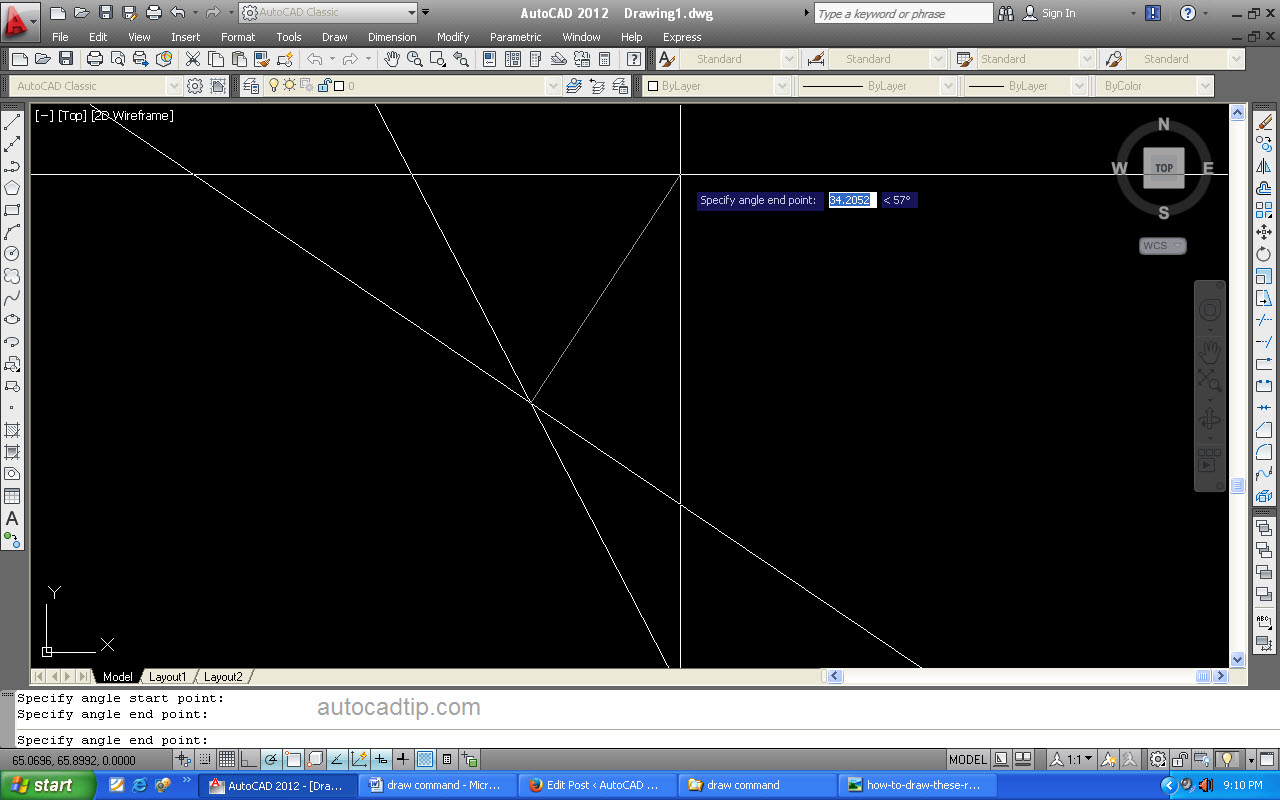
Bisect xline
Offset
With this option insert an xline which is parallel or offset from an existing object line.
XLINE Specify a point or [Hor/Ver/Ang/Bisect/Offset] : O
Specify offset distance or [Through] : Input a value anything and select the side.
Select a line object: Choose line available
Specify a side to offset: Choose the side
Or
XLINE Specify a point or [Hor/Ver/Ang/Bisect/Offset] : O
Specify offset distance or [Through] : T
Select a line object: Choose line available.
Select through point: Choose a point that xline pass.
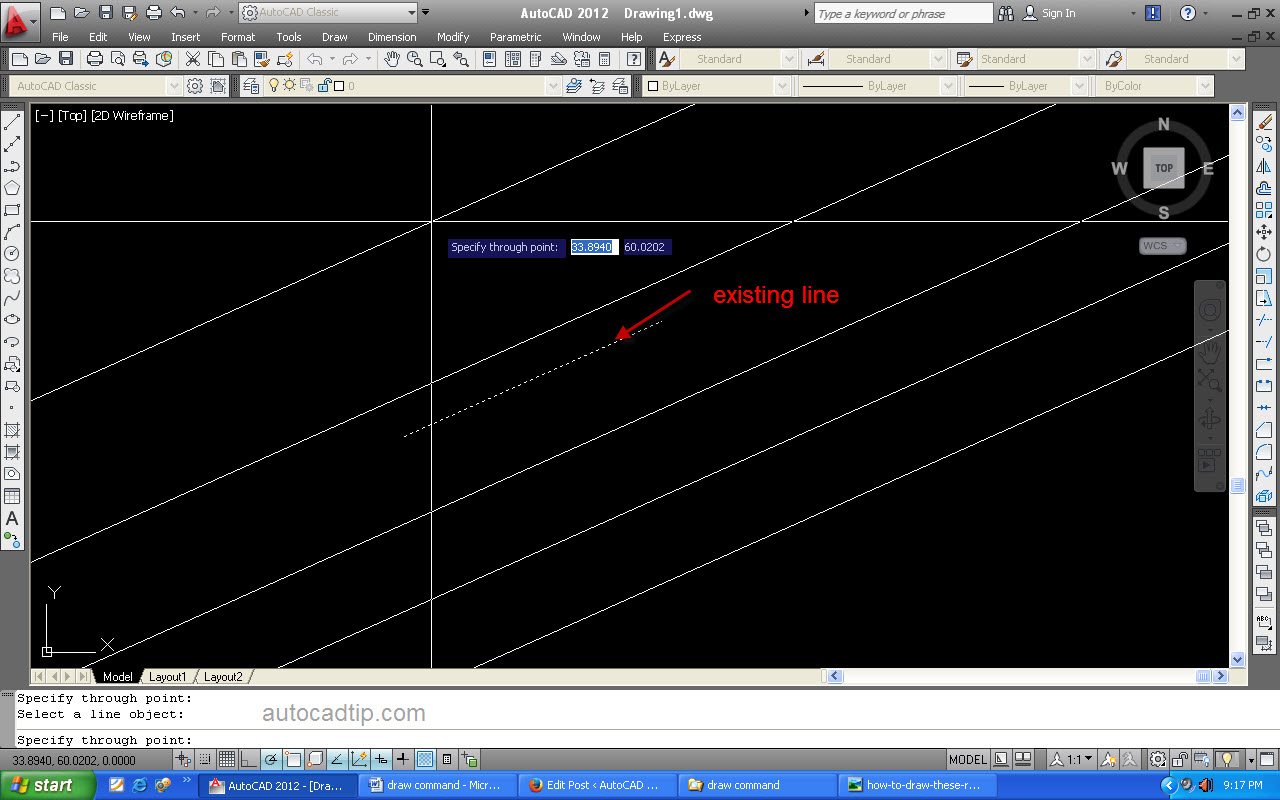
Offset option in xline command