In this last part tutorial, you had introduced about Xref applications and notes when using Xref in AutoCAD. Today I will help to how to use Xref feature in AutoCAD with steps and video tutorial specific. For example: you need to xref your company drawing’s frame to project’s drawing.
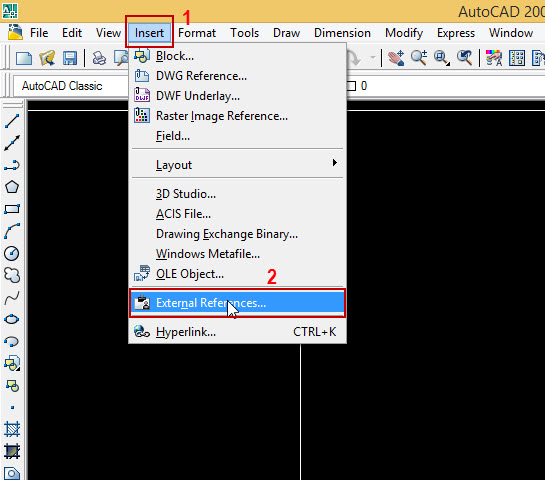
Step 1: Runing Xref command
Click Insert > select External reference
External Reference
Type Xref on command line at status > Enter > show External reference dialog box. My advice is you can choose the second way. Because of this way quickly more.
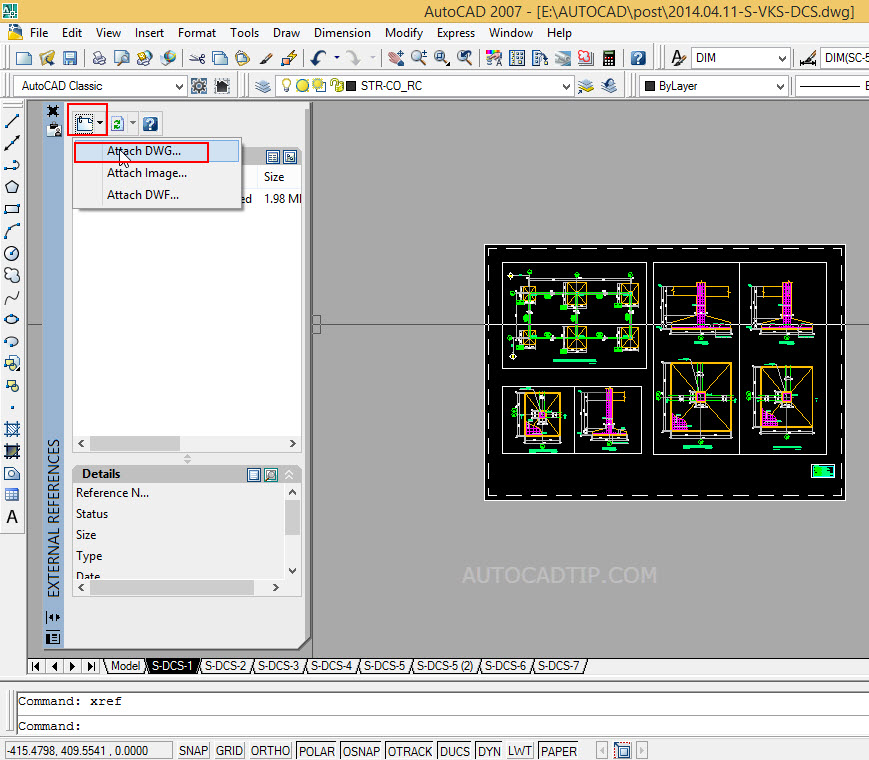
Step 2: Attachment file
Click on attach icon in left of corner > select Attach DWG > show Select Reference file box > choose Xref file to need attachment > click Open button > AutoCAD will show External Reference box.
External reference dialog box
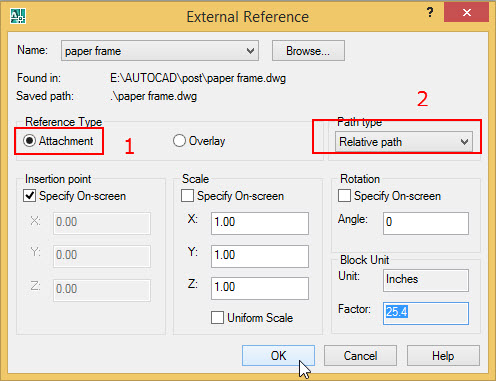
Step 3: Setting some parameter in this box.
- Reference style: Choose attachment
- Type path: Relative path
- Insert point: Choose specify on green
- Scale: Not choose specify on green and uniform scale but according with default is x=1, y=1, z=1.
- Rotation: Not choose specify on green and angle=0
After setting some parameter completely, you click on Ok button and click on specify insert point on green.
Setting parameter before Xref
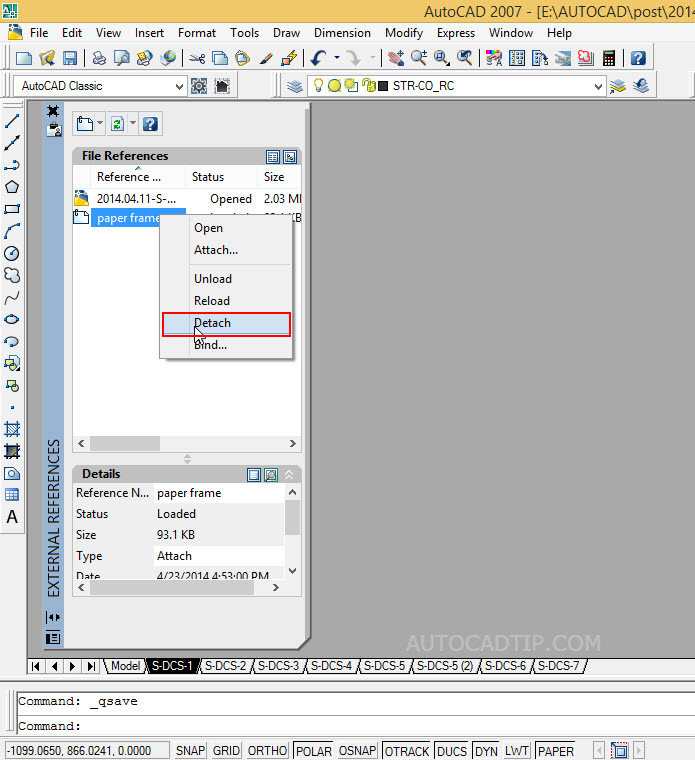
How to delete this xref file?
Very simply, you can access on external reference box and at file reference item, autocad show drawing file is opening and xref files. Now you only click right of mouse on xref file > choose detach.
Delete xref file
How to open this xref file?
Also same delete it, you only click right of mouse on XREF file > choose Open or you can click double on drawing frame as same modify a block AutoCAD. After you modify completely, you save this Xref file as same commonly.

Open xref file
Video tutorial Xref paper frame: