The topic today: How to Fix Your AutoCAD Hatch Holes?
Fix Your AutoCAD Hatch Holes
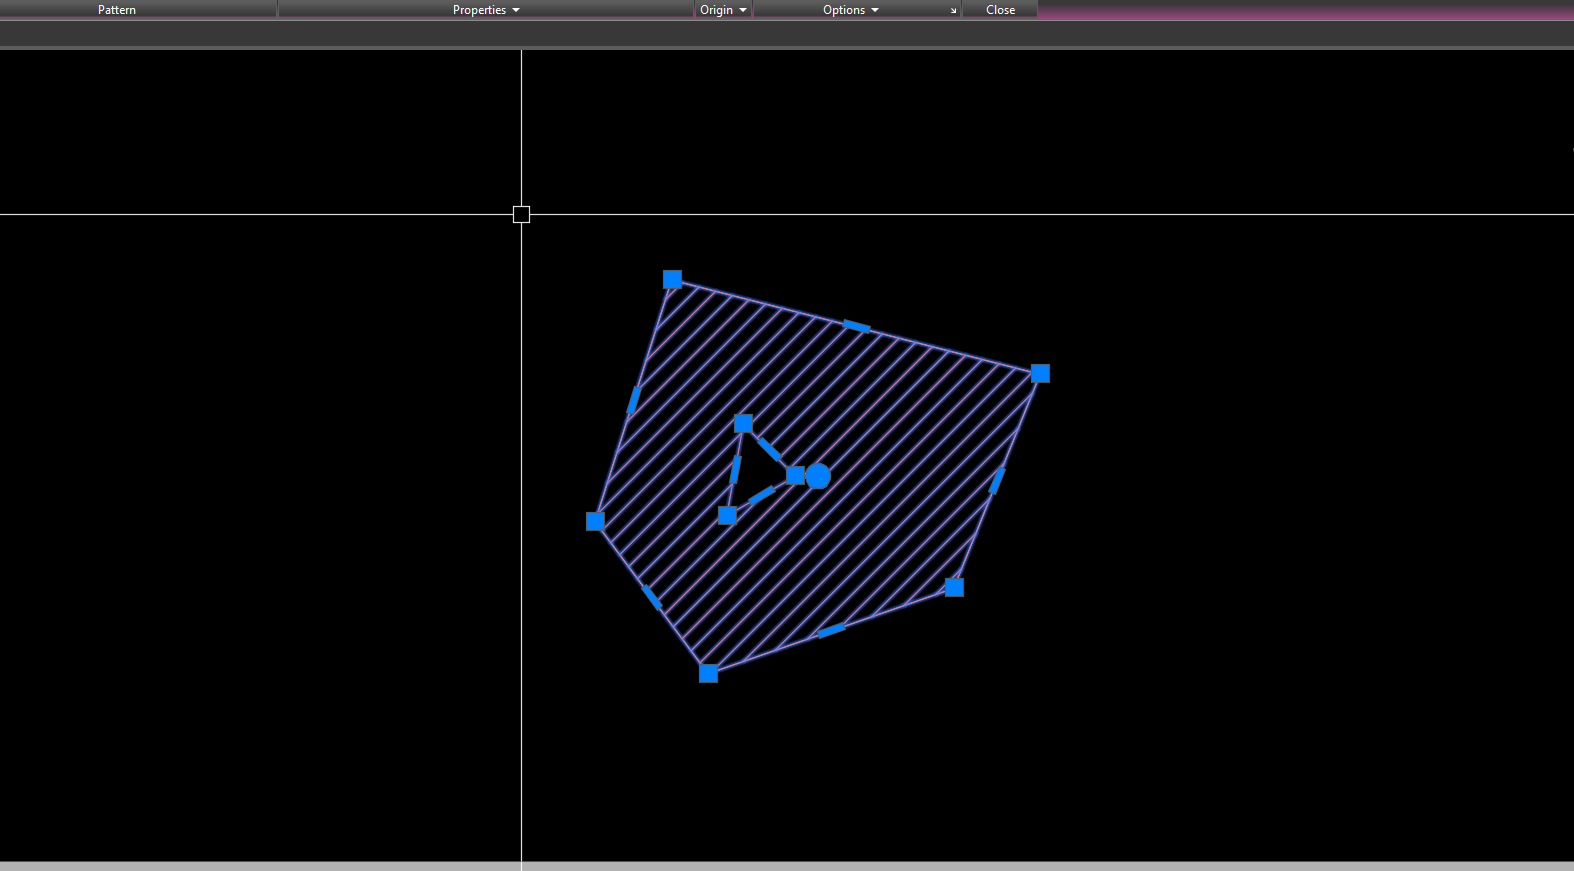
To fix hatch holes in AutoCAD 2023 and the same previous version, follow these steps:
1. Select the hatch object that has holes.
2. Type the ‘HATCHEDIT’ command in the command line, or just ‘HE’ as a shortened version, and press Enter.
3. The Hatch Editor contextual tab will appear in the Ribbon. In the Hatch Editor tab, click on the “Select Boundary Set” icon.
4. Select the boundaries of the hatch area by clicking on them. If you need to deselect any boundary, you can click on it again while holding the Ctrl key.
5. Once you’ve selected the hatch boundaries, click on the ‘Add: Pick Points’ icon located in the Ribbon under the Hatch Editor tab.
6. Carefully choose points inside the holes that you want to be filled. Make sure not to click on points that are within the boundaries of existing hatches or objects.
7. If necessary, repeat the process by adding points to all the holes you want to fill.
8. Press Enter or right-click and choose ‘Finish Selection Set’ when you’ve added all the points to the holes.
9. The holes should now be filled, and your hatch area should appear complete and closed.
10. If you have multiple hatch patterns with holes, repeat the process for all of them.
That’s it! You have successfully filled the holes in your AutoCAD hatch. Thanks for visiting and reading this content!