Hi! Everyone
In this lesson, I will give a steps tutorials how to add a plotter in AutoCAD 2014. Almost of printers auto to connect to all software application such as Microsoft office, Photoshop, 3D max, Revit architecture,.. and AutoCAD is too. If you are sure that printer driver installed but you don’t find this plotter when printing. You need to consider your computer operation.
Step 1: You click on File > Plotter manager.
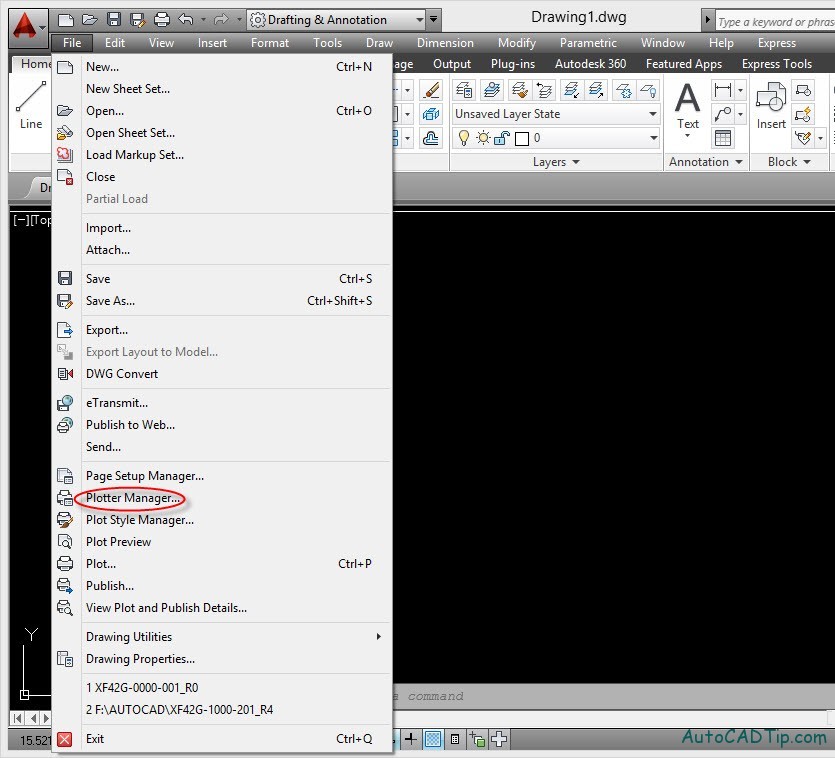
Select Plotter Manager
Step 2: Click double on Add A Plot Wizard shortcut > Show on Add Plotter – Introduction page
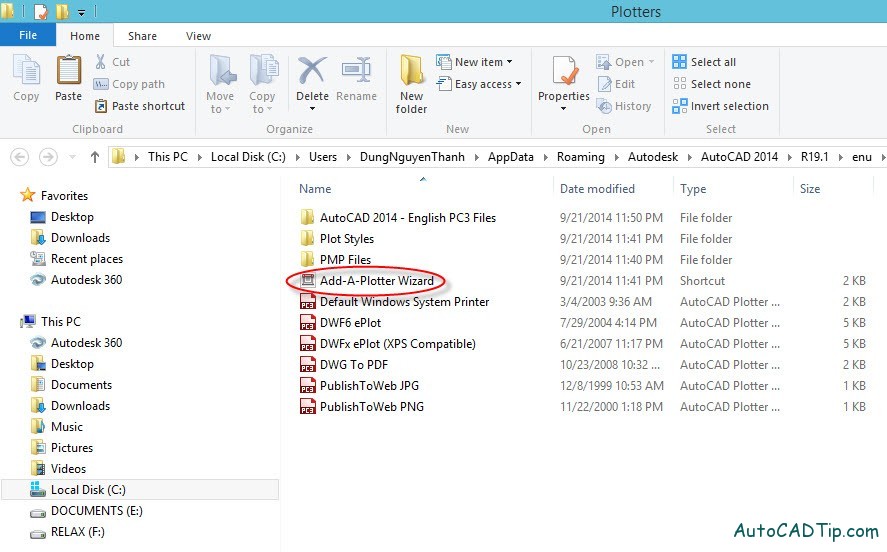
Plotters Dialogue
Step 3: Click on Next
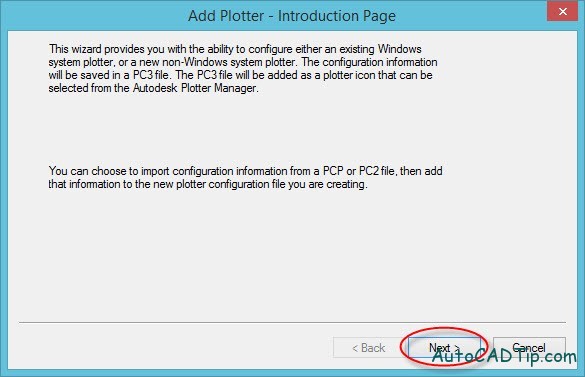
Add Plotter Introduction page
Step 4: AutoCAD give three option for you such as My computer, Network plotters sever and System Printer. In this part, I will help to add plotter from System printer. Select as figure below > Next
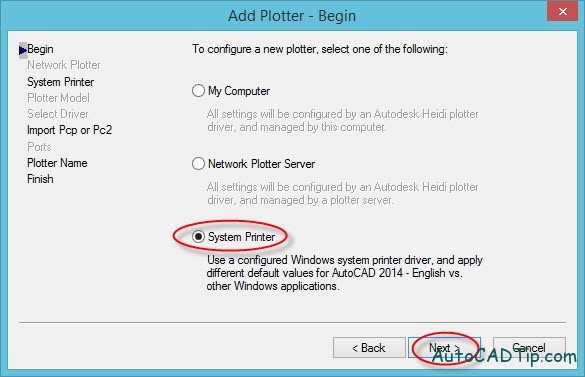
Add Plotter – Begin
Step 5: Choose Plotter > Next

Add Plotter- System Printer
Step 6: You can change Plotter’s name > Next
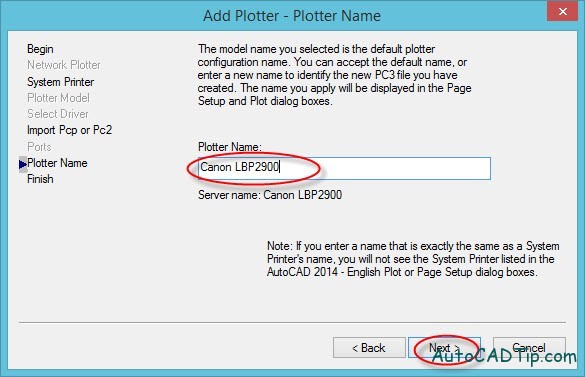
Add Plotter-Plotter name
Step 7: Finish
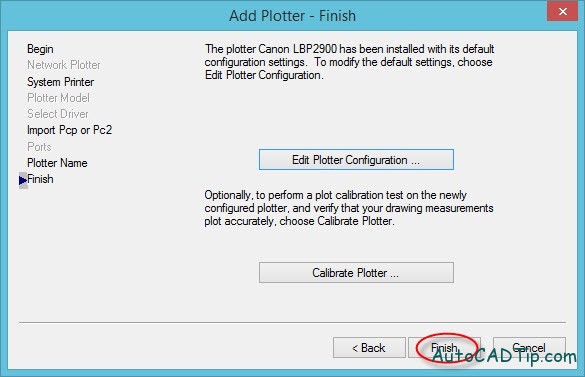
Add plotter-Finish
Now, you can go back Plotter manager. You will see printer added as figure below
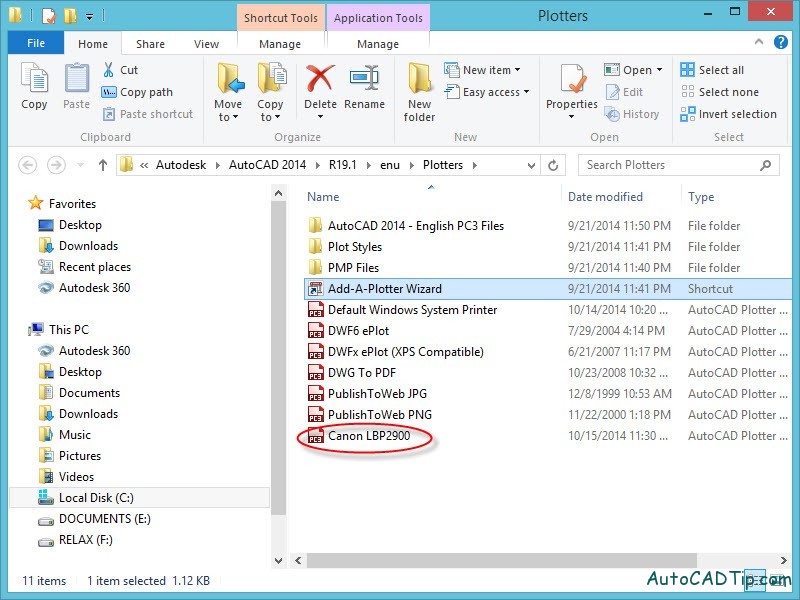
Plotter Manager