A block attribute look like a tag or label that it is attached the information. Block attribute usually is applied in the building drawing. For example: axis’s name symbol, drawings numbers beam’s notation, slab’s sign, etc. The advantage of using block attribute that you can change the attribute informations very easy. So how to create block attribute in AutoCAD? Today, I will help everyone do it. To create a block attribute you create an attribute definition first and then go to define block
Create an attribute definition?
Step 1: From the Draw menu > Block > Define Attributes or type ATT.
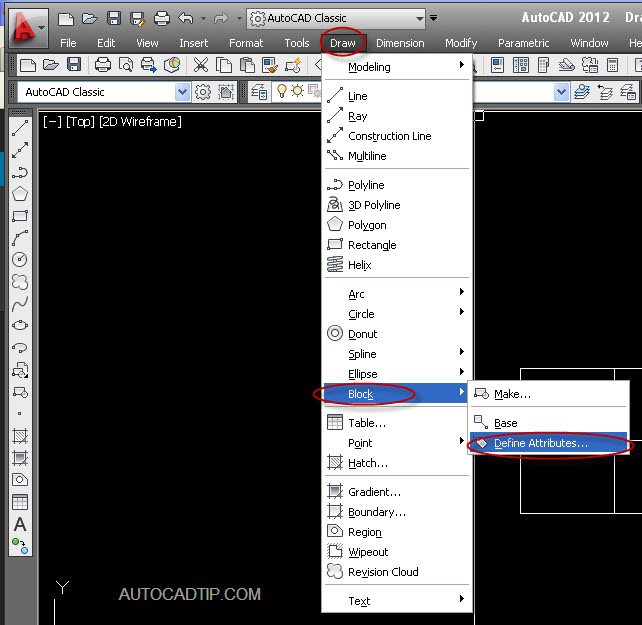
Start define attribute command
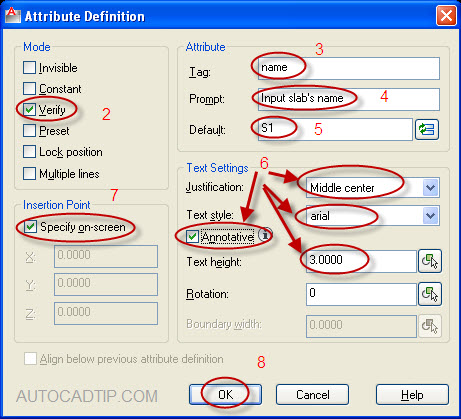
Step 2: In the Attribute Definition dialog box, select the attribute Modes you need.
Step 3: Under Attribute section, enter a tag’s name.
Step 4: In the Prompt area, enter a text string. This will be the prompt text when you select the attribute or when you insert block.
Step 5: In the Default area, enter text or value. This value will show on your bock.
Step 6: In the Text Settings, choose your preferences, text style, justification, height and rotations.
Step 7: In the Insertion Point, choose Specify on-screen and use your mouse device to specify the attribute insertion point.
Step 8: Select OK.
Attribute definition box
Create block attribute?
After you finish the definition attribute. Next step, that is going to definition block. This step is completely the same my tutorial about “How to create block in AutoCAD“.